Nuts! Campaign 2nd Try (Second Mission)

December 3, 2016

A day or two after I was able to play the first mission in my Nuts! campaign (the second try), I was able to play the second mission, this time an attack mission. The attack was made in daylight with clear weather. The terrain was wooded (see map below). I give the attacker his squad and two rolls on the reinforcement table. My two rolls were another squad & bazooka team and another squad, so basically I had my full platoon minus any casualties in the 1st Squad from the first mission. For the map, I used 2′ x 2′ terrain sectors (rather than the standard 1′ x 1′ sectors), and it worked very well. I also used a ruler reduced to 2/3rds normal size with my 15mm figures to provide a true ground scale; the overall table area was then 4′ x 4′. Both sides had an investment level of 4 (3 + 1 for attack mission). To represent some intelligence, I also rolled out 6 possible enemy PEFs, and then I rolled for which one to use when a PEF is revealed. Three were enemy infantry squads in defensive positions, one was a machinegun squad with two MG42s, one was the rest of the platoon, and one was a StuG IIIG.

Here is the map I used (at the top of the map are sectors 1, 2, and 3):

c2m2

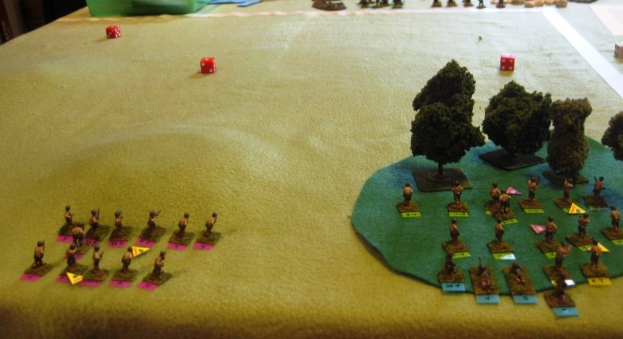
I allowed the Americans to enter in waves as long as half of their force entered on the first turn and I predesignated where the rest would enter and on what turn.

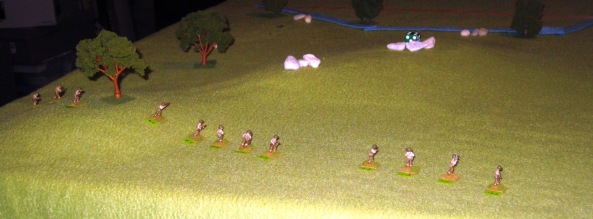
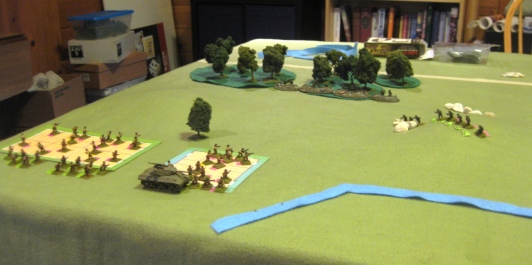
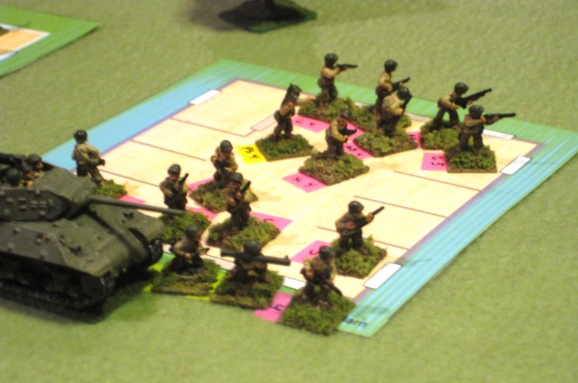
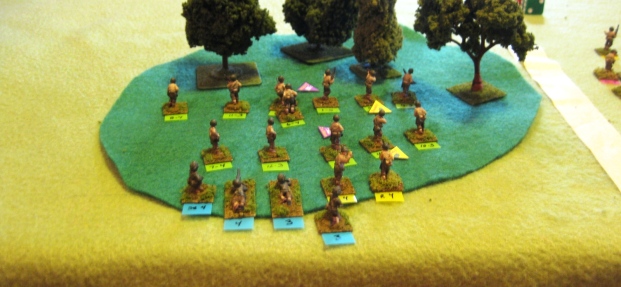
On the left is the 1st Squad, to be followed by the 3rd Squad with the platoon bazooka team and the platoon leader. On the right is the 2nd Squad with the platoon sergeant (click on any photo for a larger view).

games-november-2016-033

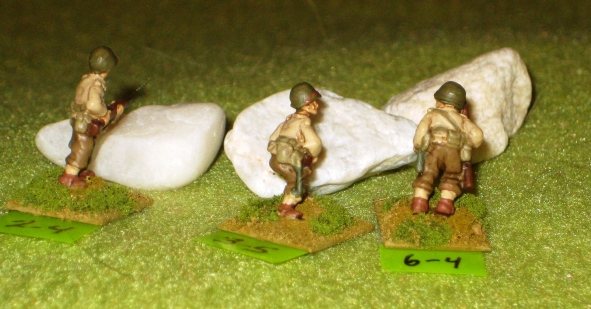
Here is the 1st Squad:

games-november-2016-035

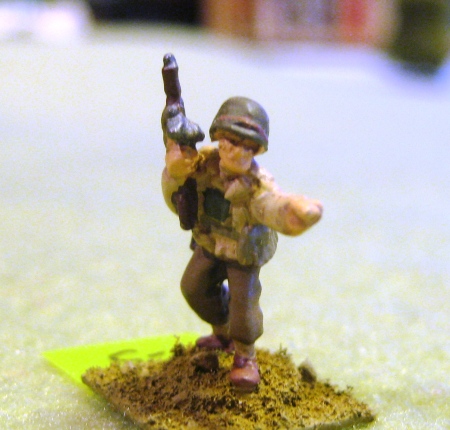
Here is the 2nd Squad and platoon sergeant:

games-november-2016-034

The PEFs turned out to be in one in sector 1 and 2 in sector 2 (the dice mark PEFs):

games-november-2016-036

2nd Squad moved forward and spotted the PEFs in sector 2 first; one was nothing, but the other was a German infantry squad in defensive positions:

games-november-2016-037

That looked like a formidable obstacle, then the Americans got 2 Sherman (M4/75s) as reinforcements:

games-november-2016-039

1st Squad moved forward on the left to the edge of the woods and spotted the PEF in sector 1, a StuG IIIG:

games-november-2016-040

There was then an armored stand-off as the Shermans did not want to move forward to engage the StuG IIIG as that would put them in range of a panzerfaust at the bridge. The American plan was to move the bazooka team forward before the StuG IIIG could move up. With some failed German activation rolls, this happened.

games-november-2016-042

The bazooka team won the insight check and fired first:

games-november-2016-049

Hit! One destroyed StuG IIIG:

games-november-2016-054

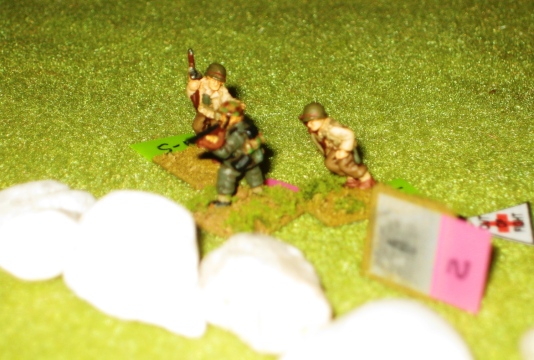
Then a random event, a soldier in 2nd Squad had stepped on a land mine (4 WIA – OOF, 3 down and 1 walking wounded):

games-november-2016-055

The remainder of the 2nd Squad tried to move forward to engage the German infantry at the bridge; another random event and a second land mine, again stepped on by a member of 2nd Squad (2 KIA & 1 WIA -OOF, all down):

games-november-2016-056

Finally, the rest of 2nd Squad and elements of the 3rd Squad were able to engage the German infantry and got decisive results:

games-november-2016-058

One of the German survivors was the panzerfaust soldier who failed his morale badly:

games-november-2016-062

The American tanks then advanced up the center towards the bridge, as did 1st Squad on the left, the remaining German was taken out:

games-november-2016-069

The mission was a success for the Americans. American casualties were mostly in the 2nd Squad and mostly due to mines: 2 KIA, 4 WIA – OOF, 1 WIA – walking wounded, and 1 soldier ran. The 3rd Squad suffered the only other American casualty: 1 WIA – OOF. The Germans lost the entire crew of the StuG IIIG and the infantry squad lost all six: 3 KIA, 2 WIA – OOF and 1 run away.

After the mission, the 1st Squad got two replacements (11 soldiers total) and the 2nd and 3rd each got one replacement bringing them both to 9 men each. The German Campaign Morale and Investment level both went down by one to 2 for each.

Overall, with my modifications, I felt the Nuts! system worked well. I was not sure about using the Random Events rolls, but I think they worked well into simulating the 2nd Squad stumbling into some old land mines. The reinforcement rules also worked well, especially for the Americans. Had they not gotten their two Sherman tanks, the infantry platoon would have had a harder time defeating the Germans with a StuG IIIG assault gun.


Nuts! Campaign 2nd Try (First Mission)

November 30, 2016

I took what I learned from playing my first Nuts! campaign and restarted a second campaign. Again my basic unit is an American infantry squad that is part of an American infantry division, a division that had not been part of D-Day, but was in the break out force. I started in week 2 of June, 1944. The first mission was a patrol mission. I had my squad (full strength with 12 men). The enemy PEFs were in areas 1, 3, and 5.

Here is the map that I made for the game:

c2m1-map

As per my house rules (see the revised ones here: house-rules-for-nuts-1-3) each area is 2′ x 2′. Since I used a reduced ruler (2/3rds scale), that produced a 4′ x 4′ actual table size.

Here is the table set up, note that I’m using two dimensional buildings as per my earlier posts about my first Nuts! campaign.

games-november-2016-009

You can see my squad entering at the lower right of the picture. Here’s them a bit closer:

games-november-2016-020

Then the PEFs were assigned to the sectors 1, 3, and 5 (each die is a PEF):

games-november-2016-022

Only the PEF in sector 1 (the lower right above) was real, and it was a weak German infantry squad:

games-november-2016-023

With only 6 men, the Germans detached the LMG team and assistant squad leader to the woods to provide a base of fire. The squad leader and two other men rushed to get into the nearest house (he passed both rolls on the NPC reaction table):

games-november-2016-025

games-november-2016-026

The American squad (my campaign squad) failed a few initiative rolls, so they were trying to do the same, but having to catch-up in the race to the house. The five other men were under the assistant squad leader and trying to establish a supporting base of fire.

games-november-2016-028

The game then became a battle for the house with the three Germans cautiously waiting inside and part of the American squad directly outside. The Americans won an initiative roll and threw hand grenades and fired into the building through the windows. The rest was pretty quick and bloody. The Americans had 2 KIA and 4 WIA (out of the fight). One soldier, Private Van Meter, ran away! The Germans lost 1 KIA, 2 WIA (out of the fight) and 1 WIA (walking wounded – see the Italy After Normandy supplement for how that works). The last German opted to beat a hasty retreat along with the walking wounded German.

Here is Private Van Meter’s less than glorious departure from the battlefield:

games-november-2016-031

In the end, it was a successful, but costly mission. Two of the WIA (out of the fight) squad members returned immediately to the squad, while two ended up in the hospital. Private Van Meter came back, but I decided to see if his REP went down, and it did to REP 2! The German Campaign Morale also decreased from 3 to 2. The next mission would be an Attack mission. I only got 1 REP 3 replacement, so my squad would enter the next mission with only 9 men (3 short).


More Optional and House Rules for Nuts! Final Version

November 13, 2016

Sorry to be absent for some time. The obligations of real life were filling up my time over the last six weeks, some of them quite expensive, like having a broken water pipe under your house fixed! Last weekend I tried to play the campaign game of Nuts! Final Version. It sort of worked, but there were some parts that just didn’t work that well. I found that the number of buildings in a sector in the terrain generation rules didn’t work at all. Also the troop density with even a 4′ x 4′ square board was just too high. I’ve compiled the changes I will use when I try the campaign game again in this file: house-rules-for-nuts-1-2. I also purchased the Nuts! Italy After Normandy supplement, which has a lot of great new rule ideas (sadly my copy suffered rain damage while in the outdoor mail box – sorry Oregon rain!). I highly recommend the Nuts! Italy After Normandy supplement. It has a lot of great ideas you can add to your game.

Here are some photos from the four missions I tried:

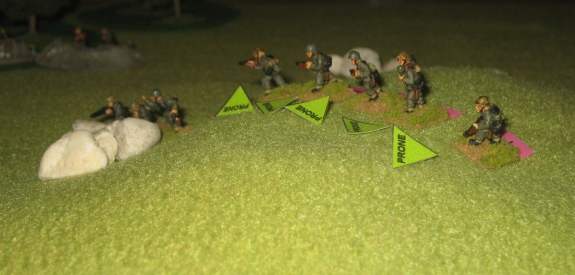
My squad on its 1st Mission (a patrol):

americans-advance

Mission 2: Attack

americans-advance-2

ssg-johnson-2

Mission 3: Attack (again)

overall-start

germans-on-hill

americans-advance-3

americans-in-barn-m10

ssg-johnson-takes-pow

Mission 4: Attack (again)

american-overall

german-defenders

american-jumble

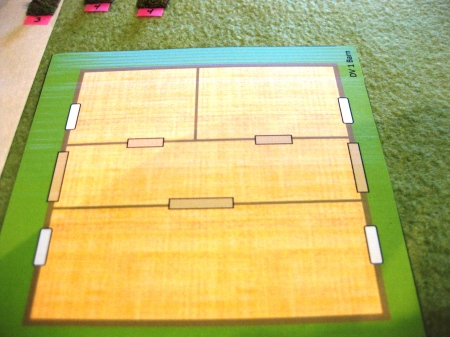
I didn’t have the right buildings so I made some floor plans with Word and they worked pretty well. I need to reprint them as my color printer cartridge was about out of ink:

barn-floor-plan

house-floor-plan

american-2nd-3rd-squads


Battlefront Miniatures Sale

November 21, 2015

In case you missed it, Battlefront Miniatures (the company that does Flames of War and all of the spin offs of that) are having a massive sale in their online store. Most of their miniatures are 33% off and the shipping has been capped at a low cost ($10 for US shipping). I don’t play Flames of War, but I do use their miniatures for my Two Hour Wargames Nuts! games. I sent my order off yesterday. The sale lasts until December 1.

Otherwise, Mark, my son, and I played an American Revolution game (hypothetical) with Piquet last Saturday and once I get all of the photos and get back from my Thanksgiving travels, I’ll post something about that.


Nuts! Final Version House Rules

September 4, 2015

My Piquet campaign for Greene’s Southern Campaign is stalled as I rebase and paint a few more figures, plus it is a challenge to find the time to play a longer game now that my college/university courses have started up again. I needed a shorter game, and of course the Two Hour Wargames rules came to mind. I’ve been painting some figures for Nuts! Final Version so that seemed like a good place to start. I was reviewing the Final Version rules and decided I wanted to use the following house rules. A .pdf of them is here: House Rules for Nuts. I could not get the new vehicle and guns tables to format correctly on wordpress, so you’ll have to look at them via the .pdf file.

House Rules for Nuts! Final Version
Version 1.0
by Jeff Glasco

1. For prone in a HE blast area, reduce the HE Impact of the attacking weapon by 2, then roll on the Ranged Combat Damage table for effects.
Discussion: This lessens but does not eliminate the chance for damage if prone. For example, a Rep 4 figure who is prone in the blast area of a grenade (HE impact value of 2) has 4/9 chance of not being out of the fight or dead (also a 5/9 or 55% chance of being killed or out of the fight). If the same figure was not prone, he would have a 70% of being killed our out of the fight.

2. Prone figures in the open can be shot at by a standing enemy within 1″ and not count as prone.
Discussion: If you run up next to a prone figure and are shooting down on him, he really should not get the prone advantage when you are right next to him.

3. Prone figures may move 2″. They may also attempt to fast move as per the rules.
Discussion: When I was an infantry officer, we did a lot of prone movement, getting up might get you shot.

4. In the attack mission, the player should start with his squad and three rolls on the reinforcement chart for his starting forces. The defender (NP) should start with the normal 3 PEFs. Both sides get +1 to their investment levels.
Discussion: If doing a deliberate attack, you get all of your forces up front then attack, but there is still the chance for some random reinforcements.

5. In the defend mission, the player should start with his squad and two rolls on the reinforcement chart for his starting forces. The attacker (NP) should start with four rolls on the reinforcement chart. Both sides get +1 to their investment levels.

6. In melee, a player may opt to fight to capture rather than kill his opponent. This is essential for those prisoner grab missions. To capture a prisoner, the enemy must be defeated in melee. If a figures wins by 2 or more successes, the enemy is subdued rather than killed. If the figure wins by 1 success, the enemy is OOF as normal.
Discussion: I got this from The Big Hurt, it makes taking a prisoner possible.

7. Allow platoon leaders or platoon sergeants to activate his own group and any other groups under his command if the leaders of those groups are within 12″ and LOS. The leadership dice of the platoon leader or platoon sergeants can only be applied to the group that he is with. Only one leader die can be applied to a group at a time, use the die of the leader with the highest rank.
Discussion: This is from Nuts! 2nd edition and allows the platoon leadership to do their real jobs; I know I was once an infantry platoon leader.

8. Add the following modifiers to the number of dice rolled during an In Sight Check:
*Enemy is Prone, including crawling = -1d6
Discussion: Prone or crawling figures are harder to see, even if in concealment.
*Enemy is camouflaged = – 1d6
Discussion: This means extensive camouflaged such as a sniper suit or fighting positions or in a building where the defender has a long time to camouflage his position.

9. Add to Received Fire Test: Any figure within 4″ and LOS to this figure will also take the test. Thus, even if a figure is not directly targeted, he can return fire against an enemy figure that shot at a figure within 4″ of him.
Discussion: The new rules of only the figure fired on possibly returning fire just didn’t work for me.